
Ultimate Guide to Basement Finishing in Utah
Finishing your basement is one of the easiest ways to add real living space and value to your home without moving or building an addition. Done well, it stops feeling like “the basement” and becomes a second living level your family actually uses.
This guide walks you through the big decisions, common issues, and what really happens during a basement project in a Utah home, so you can go into the process confident and prepared.
Plan Your Basement: Goals, Assessment, and Budget

Before you pick paint colors or browse Pinterest, get clear on why you’re finishing your basement and what the space needs to do for your family.
Ask yourself:
What’s the main purpose?
Playroom, guest suite, home theater, office, gym, teen hangout, rental, or a mix?How much of the basement are you finishing?
Entire level, or just a portion while leaving some storage/mechanical space?What’s your realistic budget?
Include permits, materials, labor, and a 10–15% contingency for surprises. To learn more on how to budget your basement finishing project, read our guide here!Do you need a full refinish or just an update?
Sometimes you only need better lighting, flooring, and a fresh layout rather than a full gut.
Write down your must-haves (e.g., bathroom, one bedroom, storage) and nice-to-haves (e.g., wet bar, fireplace, built-ins). This list will guide every design choice and keep the project on budget.
You can also try to look around your current basement. Is it storage, a kids’ crash zone, a laundry area you’d rather not look at? Then picture how you’d love to use it: maybe a second living room, a playroom that can grow into a teen hangout, a guest suite, or a combination of several.
Jot all of this down. That short list of goals and limits will guide every choice you make.
Design Ideas for Different Lifestyles
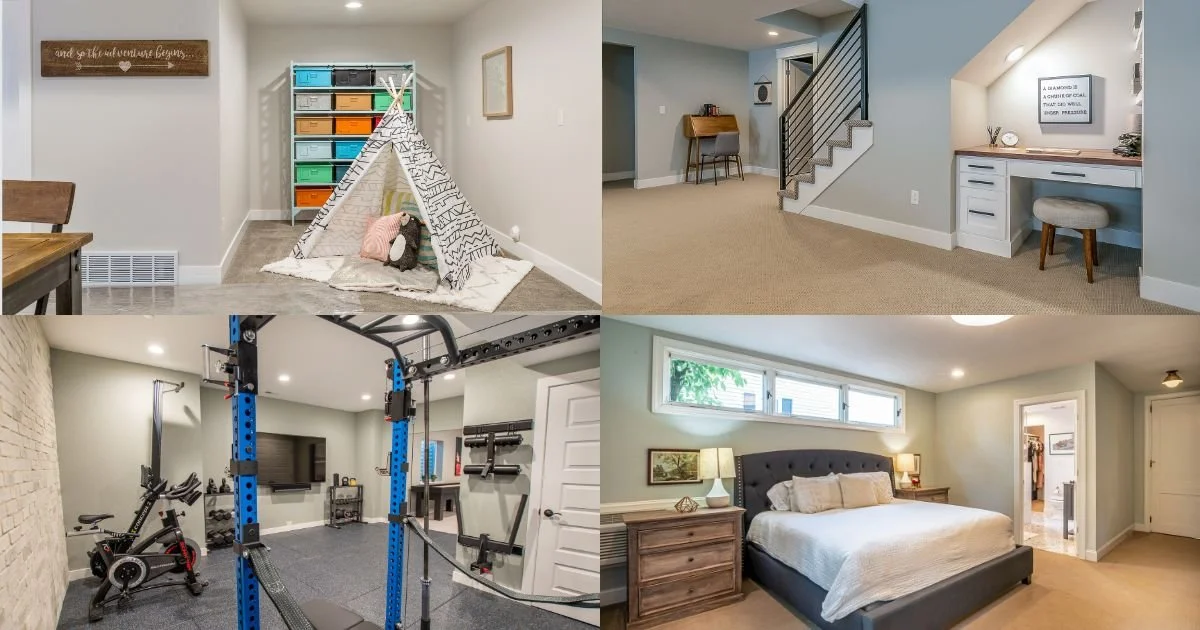
Your basement should feel like a natural extension of the rest of your home—not an afterthought. Think about how you actually live.
Families with Kids
Families with young kids often need one big, open room with tough flooring and easy storage.
Open play space with durable flooring and lots of storage.
Built-ins or shelving for toys and games.
Soft, warm lighting and a separate TV/game area for older kids.
Work-From-Home & Creatives
Work-from-home households might prioritize a quiet office with good sound separation from the TV area.
A quiet office with a door and good soundproofing.
Extra outlets, data ports, and strong lighting.
A small lounge area so you’re not stuck at a desk all day.
Active & Fitness-Focused
Active people may want a home gym with resilient flooring and extra ventilation.
Home gym with rubber or vinyl flooring.
Higher ceilings where possible for equipment clearance.
Good ventilation and a spot for towels/gear storage.
Empty Nesters & Guests
Empty nesters might picture a calm guest suite with a cozy sitting area and bathroom.
Comfortable guest suite with a bedroom, closet, and bathroom.
Sitting area or mini-kitchen for long-term guests.
Easy access to stairs and natural light to avoid a “basement” feel.
Multi-Use Spaces
Most Utah basements end up doing double duty: part playroom, part media room, part storage. That’s okay—just zone the space intentionally with furniture, lighting, and partial walls so each area still works well.
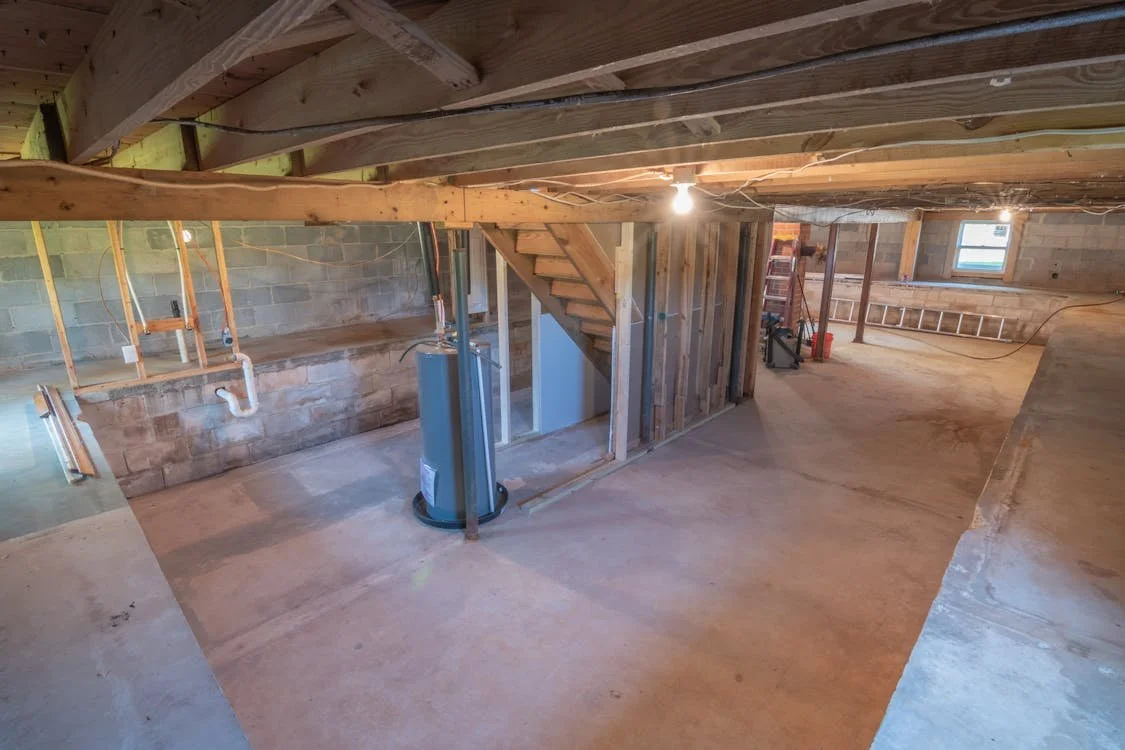
Check Your Basement for Issues Before You Start

Contractors will absolutely look for problems—moisture, cracks, low ceilings, awkward ductwork—but it helps if you’ve already noticed them.
Walk the space slowly and really look at it. Any discoloration on concrete walls or floor? Efflorescence (white chalky residue)? Musty smells after a rain? Those are all signs you may need drainage or waterproofing before you finish the space.
Note any foundation cracks, especially those that look wider at one end, and any areas where the ceiling feels very low or cluttered with ductwork. Check where the main plumbing stack is, where the electrical panel sits, and how much floor area you’ll need to keep clear for access.
Coming into your first meeting with a mental “punch list” like this makes the design and pricing conversation much smoother—and helps avoid surprises later.
A quick pre-inspection helps you avoid surprises and puts you ahead of the conversation with your contractor.
Look for:
Moisture or water stains on walls or floor
Even small damp spots matter. Identify where water is coming from (gutter issues, grading, cracks) and address it before closing up walls. To learn more on how to avoid or determine moisture in your basement, read our guide here!Cracks in foundation or block walls
Hairline cracks are common; wider cracks or shifting need a pro’s opinion.Low ceiling areas, bulkheads, or beams
These affect layout and headroom solutions.Existing plumbing and drains
Note where the main stack and clean-outs are—this impacts bathroom or kitchenette locations.Electrical panel and mechanicals
There must be clear access. Your layout can’t block these by code.
Take photos and notes. When you meet with a contractor, you’ll be able to ask informed questions instead of discovering problems mid-project.
Choose the Right Materials (Built for Utah & Built to Last)

Basements live a different life than the rest of your home—cooler, more humid, and closer to concrete. Choosing the right materials is huge for comfort and longevity.
For walls, you’ll usually see rigid foam or similar insulation against the concrete, with framed walls and batt insulation in front. Pressure-treated lumber should be used anywhere wood touches concrete. Drywall is standard, but in certain areas (like bathrooms or exterior walls) it may be worth using moisture- or mold-resistant boards for extra peace of mind.
Flooring is another big decision. Solid hardwood directly on concrete is rarely a good idea. Instead, many Utah homeowners choose luxury vinyl plank, tile, carpet with a basement-rated pad, or engineered wood over a subfloor system. Think about who will use the space and what kind of maintenance you’re comfortable with.
Don’t forget sound and comfort. Insulating the ceiling, adding sound-dampening products, and planning enough lighting and outlets can be the difference between a space you tolerate and a space you love.
Spending a little time learning the pros and cons of each material means you can have a real conversation with your contractor instead of just nodding along.
Key areas to think about (or you can just copy this list!) :
Framing: Kiln-dried 2x4s, with pressure-treated lumber anywhere wood touches concrete.
Insulation:
Utah’s cold winters make insulation critical. Rigid foam against concrete plus batt insulation in stud cavities is common. Ask about options that manage moisture, not just temperature.Vapor barriers & waterproofing:
Depending on your foundation and local codes, you may need specific moisture barriers to protect framing and drywall.Drywall:
Standard drywall works in many basements, but moisture-resistant or mold-resistant boards can be smart around bathrooms or exterior walls.Flooring:
Skip solid hardwood directly on concrete. Great basement options include LVP (luxury vinyl plank), tile, engineered wood over subfloor, or quality carpet with a moisture-rated pad. To learn more which flooring suits your basement, read our guide here!Soundproofing:
Insulated ceiling cavities, resilient channels, and sound-dampening drywall help keep upstairs footsteps and downstairs movie nights from driving anyone crazy.Finishes:
Choose trim, doors, hardware, and paint colors that match or complement the rest of your home so the basement feels “finished,” not separate.
Do a bit of research on each category so you can understand your contractor’s recommendations and make choices that line up with your budget and long-term plans.
Permits, Codes, and Working with the City or County
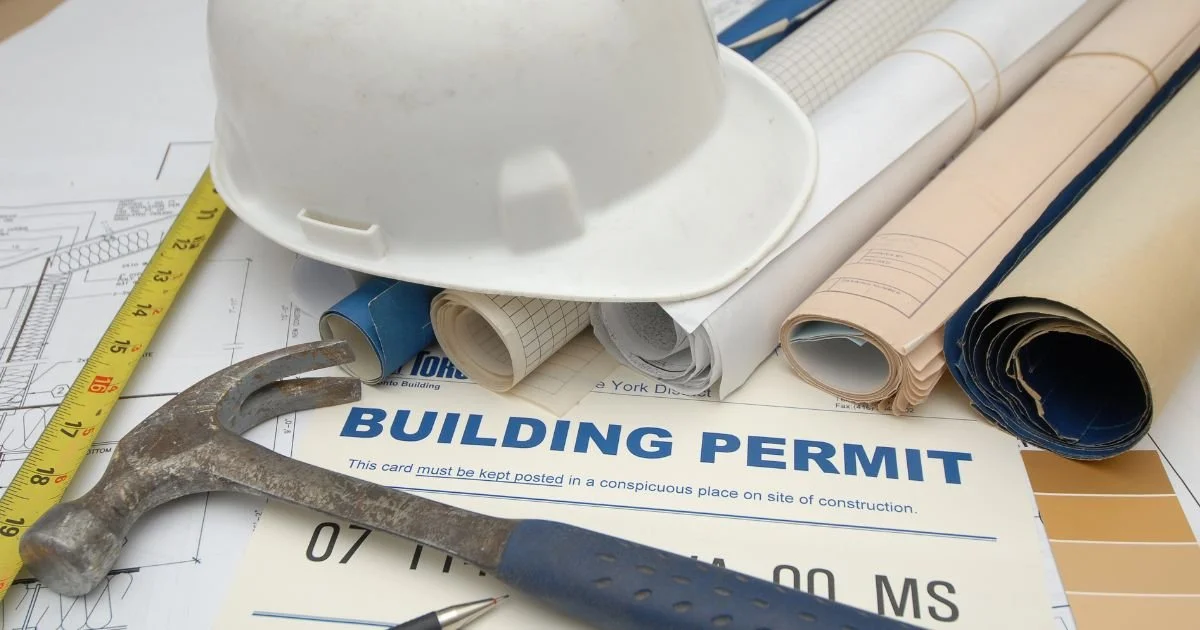
Basement projects touch structure, safety, and fire egress—so permits matter.
Most finished basements require permits for framing, electrical, plumbing, and sometimes HVAC. Bedrooms must have code-compliant egress windows. Stairs, handrails, ceiling height, and smoke/CO detectors all have specific rules, and those rules can vary by city and county.
A reputable contractor will:
Know your local codes.
Draw plans that meet them.
Pull permits on your behalf.
Schedule and pass inspections along the way.
Your job is to make sure you’re hiring someone licensed and insured, and to ask up front, “Who handles permits and inspections?” If the answer is “you do,” that’s a red flag.
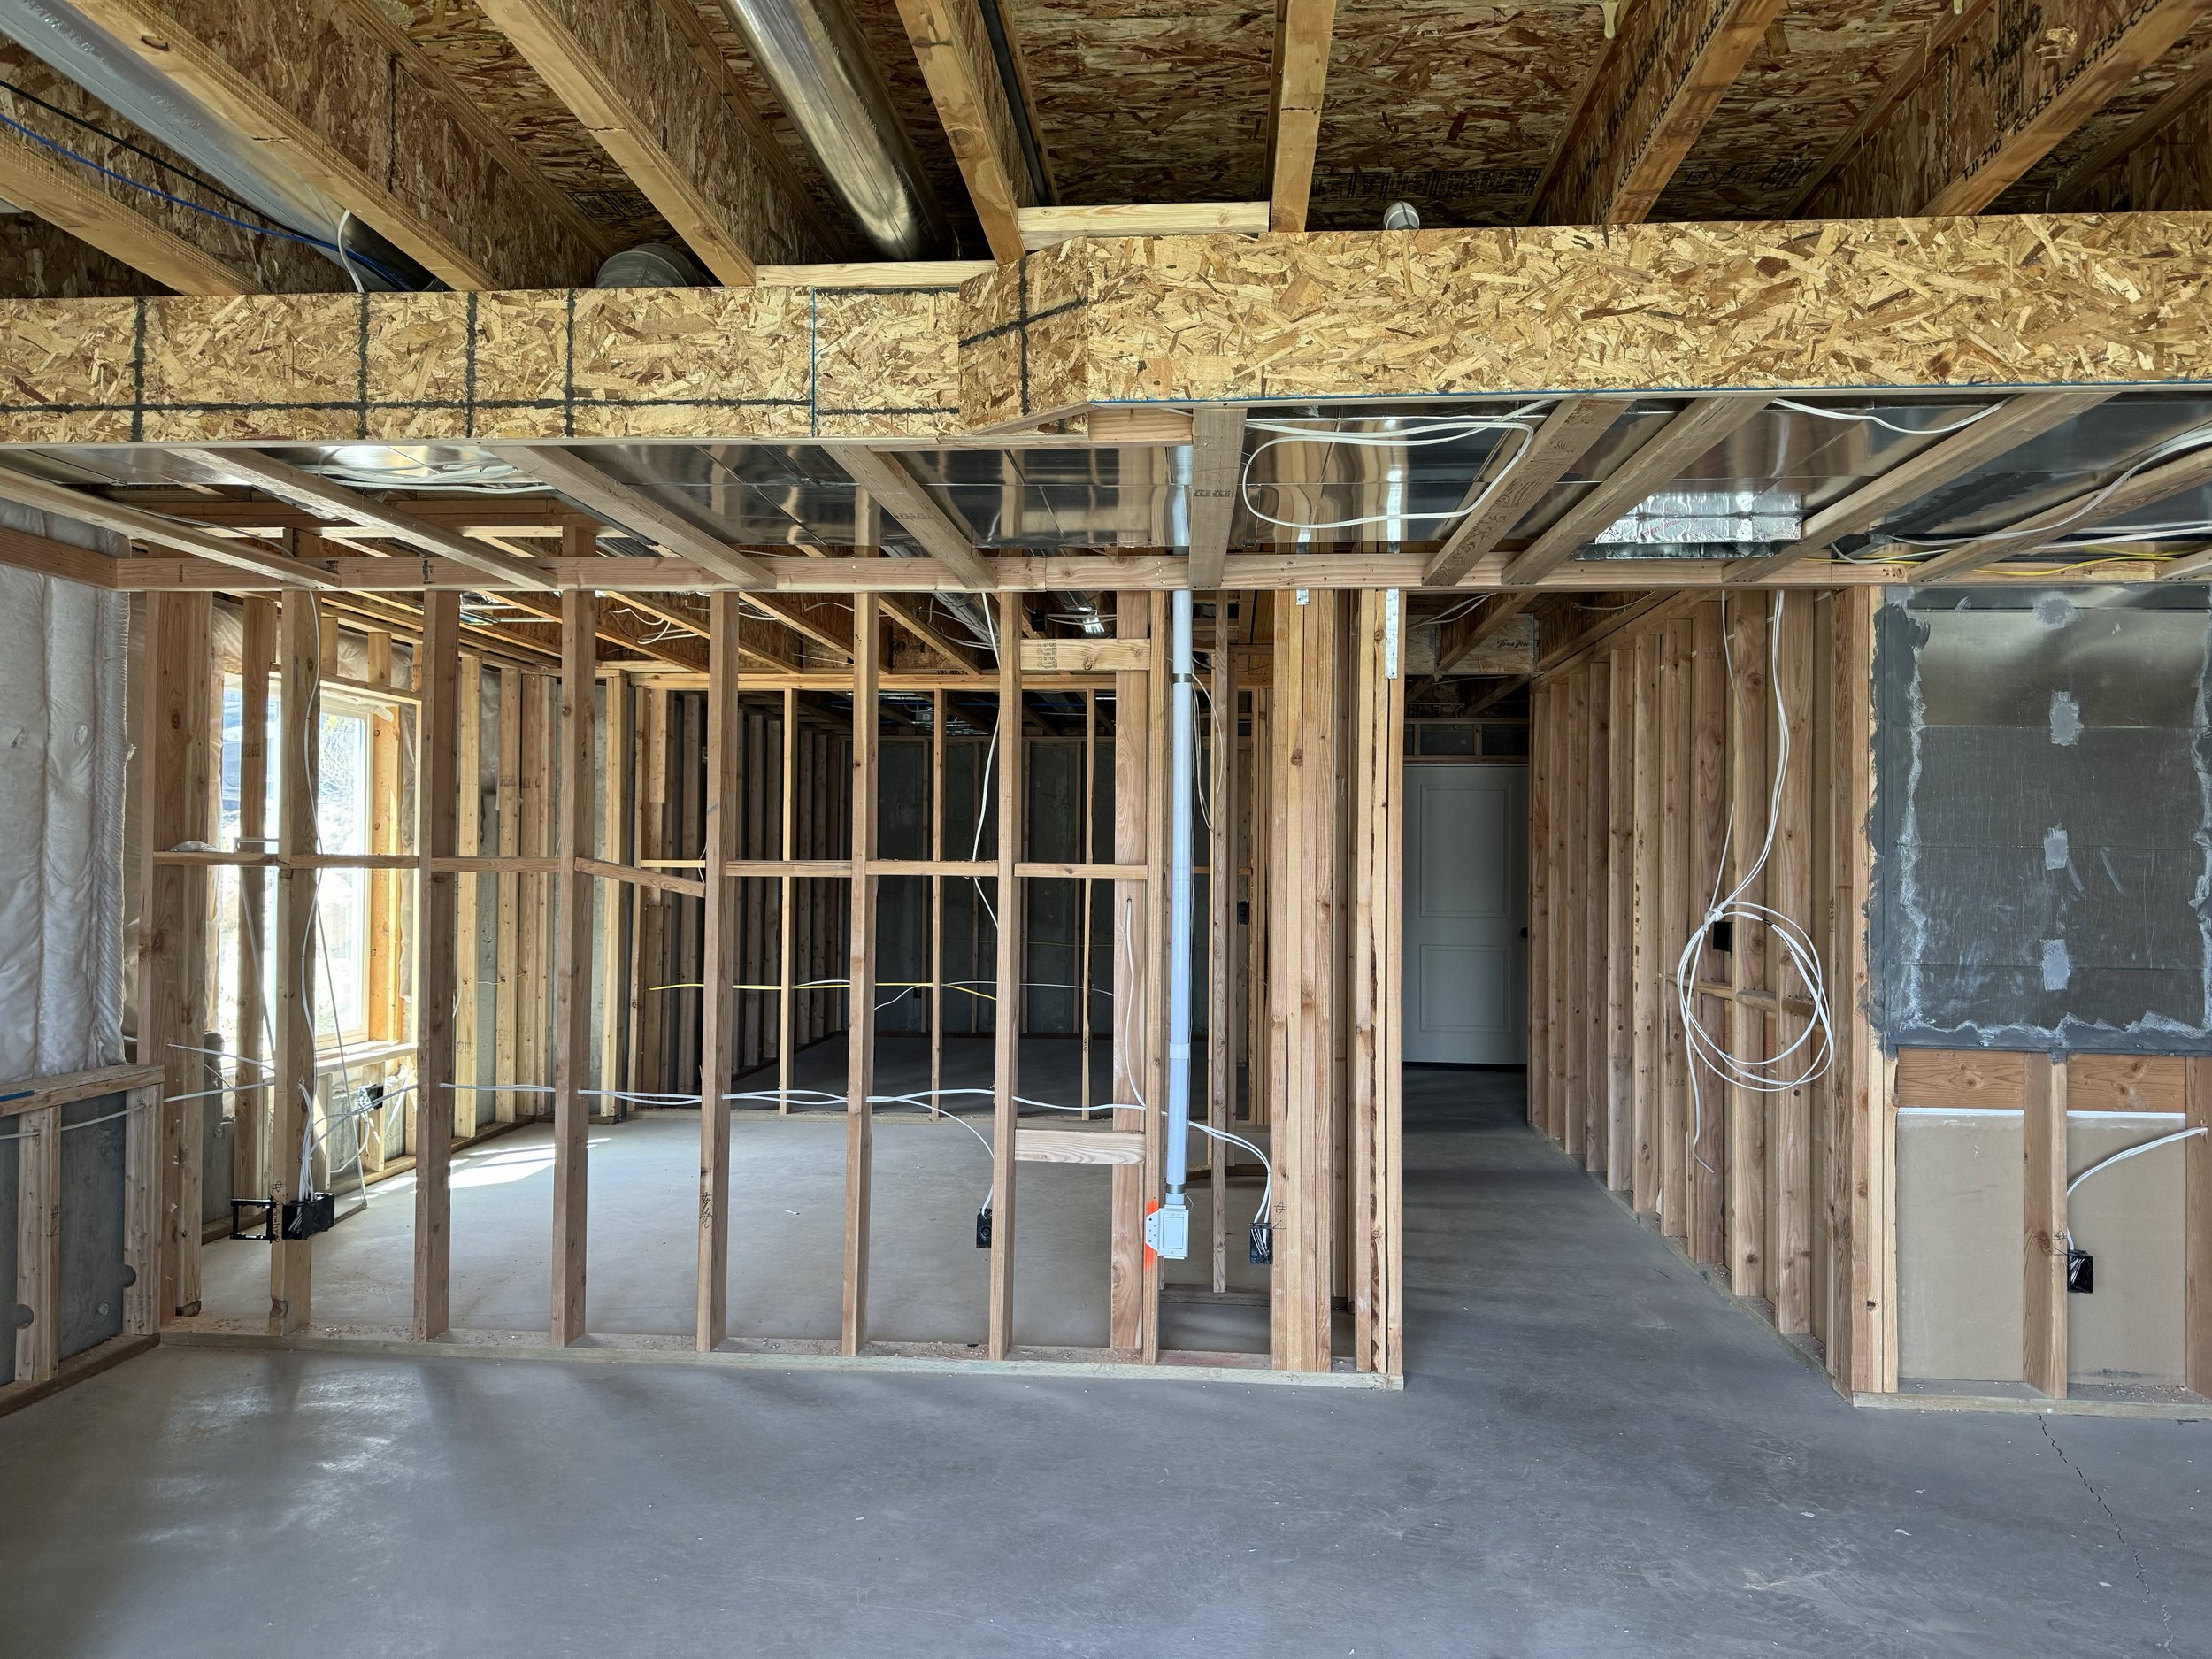
What Really Happens During a Basement Project
From the outside, a finished basement looks simple. From the inside, it’s a sequence of noisy, dusty, very real construction steps.
Expect demolition if there’s anything existing to remove, followed by framing, mechanical work, and lots of material deliveries. There will be days when your driveway has a dumpster or a trailer, days when you can’t easily walk through certain parts of the basement, and days when it’s surprisingly quiet while crews wait on inspections or a specific trade.
If you have kids or pets, think ahead about safety. Where will tools and materials be stored? Which access doors will crews use? Are there times of day you’d rather avoid heavy noise because of naps or work calls?
A good contractor will explain the general order of operations and give you a rough timeline so you can plan around it.
Lock In the Layout Before Work Starts
Once framing and rough-in work are underway, changes get expensive quickly. It’s worth taking the time up front to really think through the layout.
Look at how you enter the basement from the stairs, how you walk through the space, and where natural light falls. Place living or working areas near windows when you can. Use darker corners for storage, a bathroom, or utility space.
Bathroom and wet bar locations are especially important. Keeping them near existing plumbing can save you thousands of dollars. Mechanical spaces (furnace, water heater, panel) need clear access; they can’t just be boxed in wherever it looks nice.
Ask for a clear floor plan and, if possible, basic 3D views. Walk through the plan with your family and imagine daily life in the space: where toys go, where you’d watch a movie, where guests would sleep. It’s much easier to move a wall on paper than after the drywall is up.
READ: Best Basement Layout Ideas for Utah Homes
Common Basement Challenges
Most basements share a familiar set of headaches. Knowing them ahead of time helps you ask smarter questions.
Low ceilings and exposed ductwork are one of the big ones. Sometimes you can raise portions of the ceiling and only drop it where ducts run; sometimes you design soffits and lighting so those drops feel intentional. Moisture and temperature swings are another. Proper waterproofing, insulation, and HVAC adjustments can make the basement feel as comfortable as your main floor.
Ventilation matters too. Finished basements need enough fresh air movement and properly vented bathrooms to avoid that stale feeling. And then there’s sound—upstairs footsteps on the floor above, or movie night booming into the bedrooms. Insulation, special channels, and thoughtful layout all help tame that.
When you interview contractors, ask directly: “How do you usually handle low headroom, soundproofing, and moisture control in basements?” The way they answer tells you a lot.
To learn more about the full guide on what to expect during a basement finishing, read our guide here!
DIY Basement Finish or Hire a Contractor?

It’s tempting to look at the numbers and think, “If I do it myself, I’ll save a fortune.” Sometimes that’s true. But there’s a real trade-off in time, stress, and risk.
Doing everything yourself means learning codes, pulling permits, coordinating inspections, and doing physical work on nights and weekends. It also means being responsible if something isn’t quite right when you go to sell the home later.
Hiring a contractor costs more in pure dollars, but you get experience, speed, and a single point of accountability. Many homeowners choose a middle path: letting a professional handle structural, electrical, plumbing, HVAC, and drywall, then taking on painting or simple finish work themselves.
Think honestly about your skills, your schedule, and how quickly you want that space usable. The “cheapest” option on paper isn’t always the best value for your family.
Some homeowners are tempted to DIY an entire basement to save money. Sometimes that works—more often, it turns into a long, stressful project.
DIY might make sense if:
You have solid skills in at least framing or finish work.
You’re comfortable pulling permits and working with inspectors.
You’re okay with the project taking many months of nights and weekends.
Hiring a contractor is usually the better choice if:
You want a predictable timeline.
You don’t want to manage multiple trades (electrical, plumbing, HVAC, drywall).
You care about resale value and passing inspections the first time.
You’d rather spend your free time enjoying the space, not building it.
You can also choose a hybrid approach: a contractor handles structural, mechanical, and drywall, while you tackle painting, trim, or flooring to save on labor.
READ: DIY Basement Finishing Risks & Tips
The Phases of a Basement Finishing Project

Every project is unique, but most follow a similar roadmap:
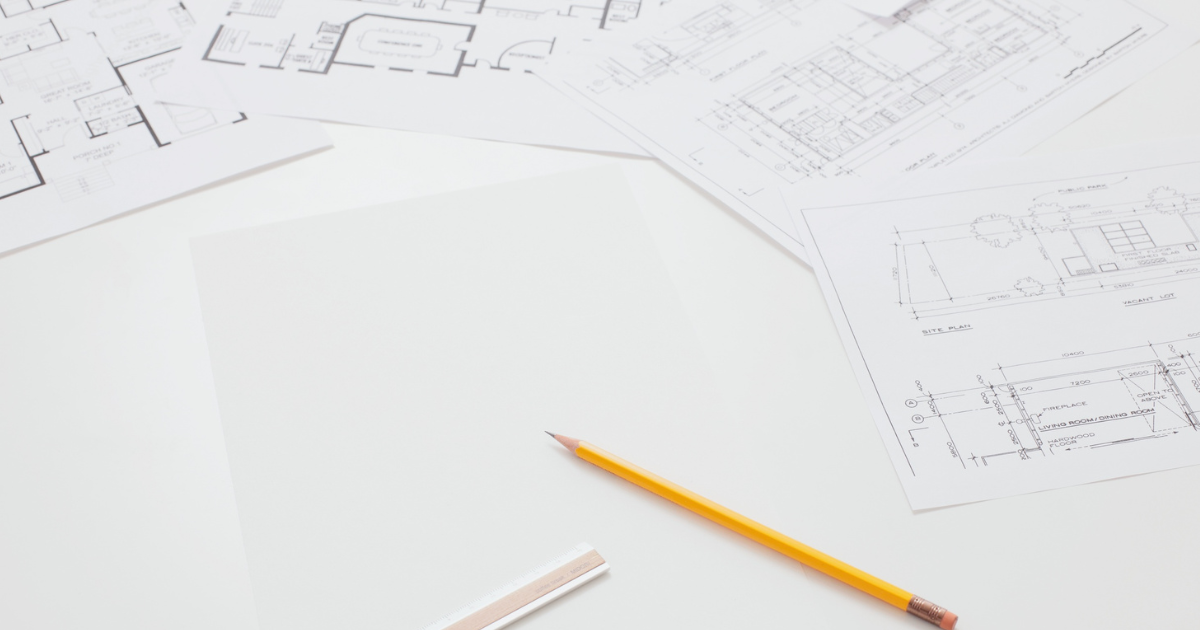
Phase 1: Planning & Design
Initial consultation and walkthrough
Measurements, layout options, and budgeting
Material selections and final plans
Permits submitted and approved
Phase 2: Framing & Rough-Ins
Framing walls, soffits, and bulkheads
Running electrical, plumbing, and HVAC
Installing insulation and soundproofing
First round of inspections
READ: Construction Considerations for Basement Finishing
Phase 3: Drywall & Major Finishes
Hanging and finishing drywall
Priming and painting
Installing doors, trim, and built-ins
Flooring prep and installation
Phase 4: Final Details & Walkthrough
Fixtures, outlets, switches, grilles, and hardware installed
Final paint touch-ups and caulking
Clean-up and punch-list items
Final inspection and handoff
Knowing these phases ahead of time makes it easier to track progress and ask the right questions.
What to Expect During Basement Construction
Even well-planned projects have moments where things don’t go exactly according to script.
And even with the best contractor, things happen. It helps to be realistic:
Schedules can shift due to inspections, back-ordered materials, or hidden issues behind walls.
There may be minor change orders if conditions are different than expected or if you adjust the plan mid-stream.
Parts of your home will look worse before they look better. Don’t panic during the messy middle.
Communication is key. Weekly updates and quick responses to questions keep everyone aligned.
You’ll make lots of small decisions (outlet heights, trim profiles, grout colors) — having a clear design direction upfront keeps this from feeling overwhelming.
Staying on Budget Without Hating the Result
You don’t have to overspend to get a basement you’re proud of, but you do need to be strategic.
The best way to protect your budget is to make smart decisions early. Keeping bathrooms and bars close to existing plumbing, choosing layouts that work with your current structure, and avoiding constant mid-project changes all help. You can also phase certain “extras” later—maybe you rough in plumbing for a future wet bar but wait to install cabinetry and countertops.
It’s usually wiser to protect the budget on finishes you can easily swap out later, and invest properly in the things that are hard to change: waterproofing, insulation, electrical, and framing. Paint colors, light fixtures, and even flooring can be updated down the road when your budget recovers.
Talk openly with your contractor about where you’re comfortable saving and where you’re not. A good team will bring options instead of simply cutting quality.
READ: How Much Does It Cost to Finish a Basement in Utah? 2025 Guide
Finishing a basement can feel like a huge project, but when you break it into steps—goals, design, materials, permits, phases, and budgeting—it becomes something you can navigate confidently.
You don’t need to know how to frame a wall or pull a permit. You just need to know what you want your basement to do for your family and who you trust to build it.
If you’re ready to take the next step, Berlin Homes can walk you through ideas, layout options, realistic budgets, and a clear timeline for turning that unused lower level into a warm, comfortable part of your home.
Book a free consultation with Berlin Homes to talk through your basement goals and see what’s possible in your space!